
For our bracket mount example we are mounting to a stud wall. We use a stud finder to locate the stud(s) - We mark the stud location(s) and then mark an area near a stud for a pilot hole.
Drill the pilot hole.
We make the pilot hole larger to verify stud location and
make sure there are no issues before making the hole full size.
We mark out our rough opening and mounting holes.
We make the hole just big enough for the required cabling and then run the cables through our opening.
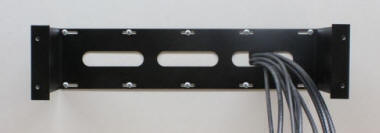
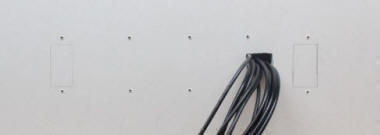
We run the cables through the bracket's cable ports. Attach bracket to wall using proper screws at studs and wall anchors where no studs are available.
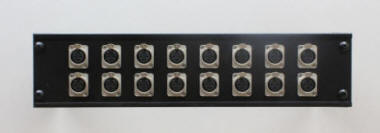
We solder our cables and attach the plate to the bracket. For this we use 10/32 rack screws with captive washers.
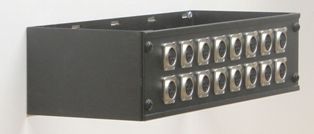
The complete assembly will protrude from the wall 6" - 6 1/2".

A simple 4 sided box can be built & slid over assembly.

VADCON, Inc.
PO Box 92414
Rochester, NY 14692
Phone: 800-899-9855
Fax: 888-686-4686