Building Your Own Floor Box:
If you want to build to build your own box:
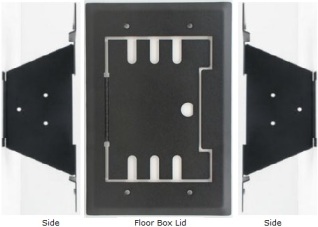
1) Add the 2 Sides & Lid to your cart.
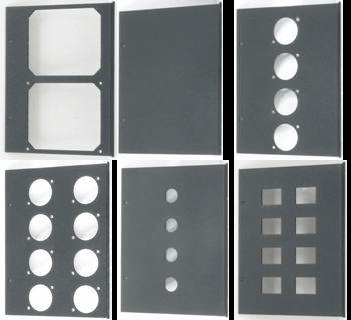
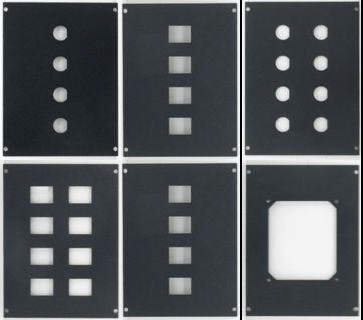
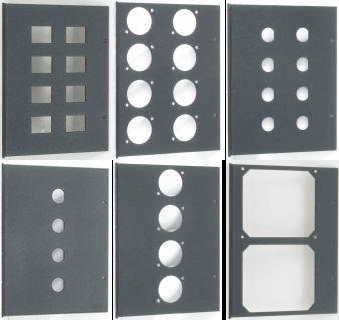
2) Shop for the first Floor Box End and add to cart.
3) Shop for the second floor box End and add to cart.
4) Shop for the floor box bottom and add to cart.
5) If you want it assembled add a note in the cart's message box.
NOTE - You can wind up with so many connectors in the box that you may not be able to plug all of the cables in.
8 Speakons in each end and 8 Speakons in the bottom may sound like a great idea until you try plugging cables into all 24 Speakons at the same time... plan ahead!
Changing/Updating an existing Floor Box:
Interchangeability allows you to easily change the ends or bottom if your future needs
require.
Without having to purchase an entire new box you'll certainly save time and money!
In most cases you won't even have to remove the box from the floor to change out the parts!
NOTE - In our assembly examples below we do not have connectors loaded. You may want to pre-load the connectors in the floor box ends before assembling the box if the loaded
connectors will not interfere with the floor installation.
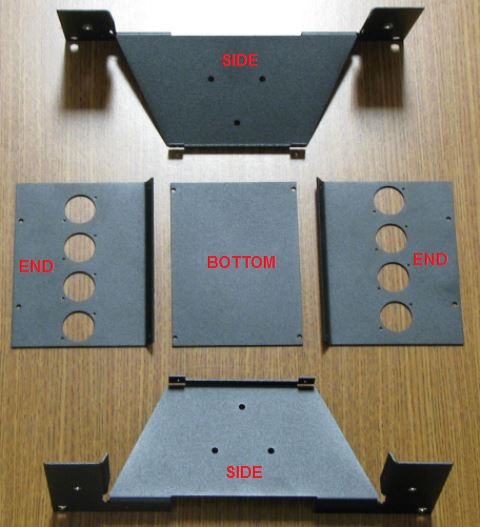
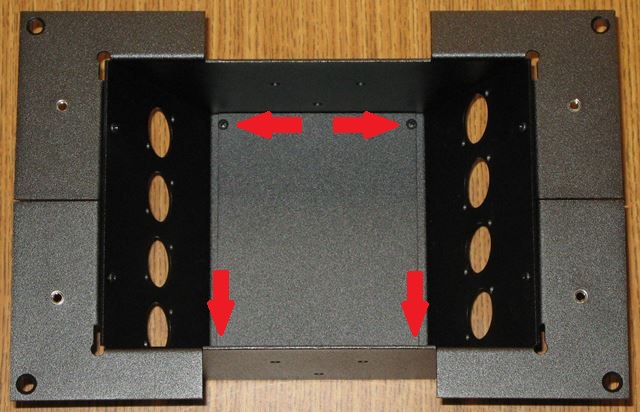
The 2 Sides, 2 Ends and Bottom laid out
Start with 1 Side & 1 End
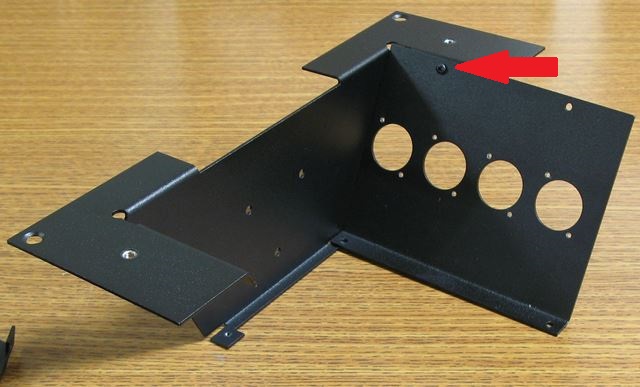
Attach the end to the side with a 4-40 pan head machine screw - do not tighten at this time.
Attach the other end to the side with a 4-40 pan head machine screw - do not tighten at this time.
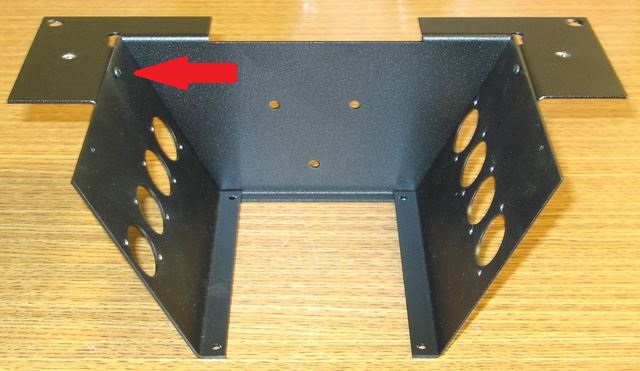
Attach the second side with a 4-40 pan head machine screws - do not tighten at this time.
Attach the bottom with qty. 4 4-40 pan head machine screws - do not tighten at this time.
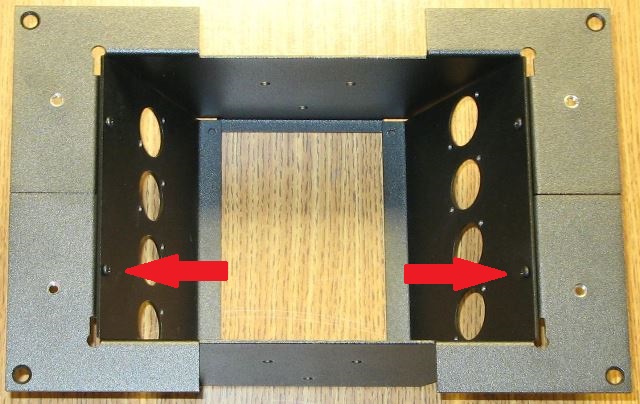
Now that all 8 screws are loosely installed you may tighten all of them as you "square up" the box.
With all 8 screws tight the box will be ready to install in the floor.
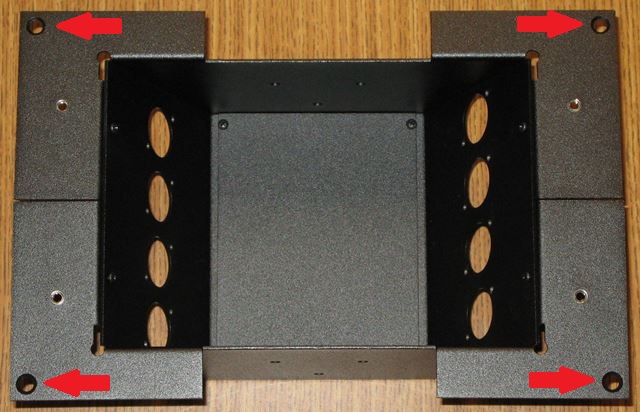
The
countersunk holes noted are for securing the box to the floor using
appropriate fasteners for your floor type.
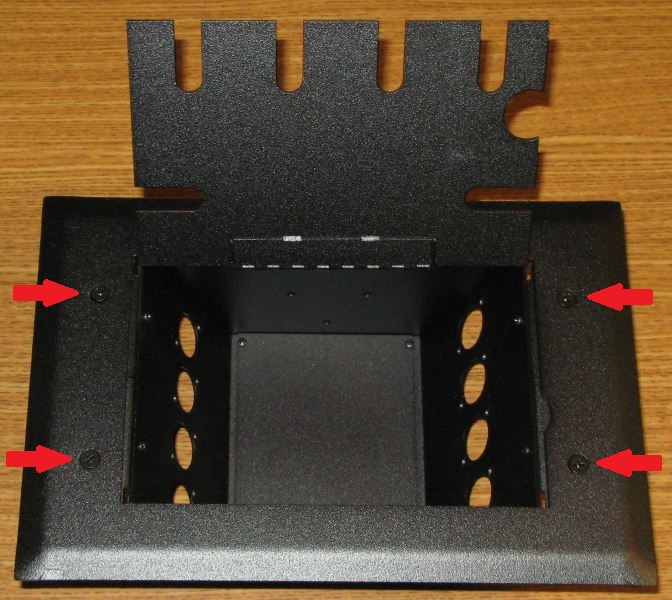
The last assembly step would be to use 10-32 machine screws to attach the lid.


